Showing posts with label OOAK. Show all posts

Sunday, 20 November 2011

Volpe


"So instead of calling me 'Dragon' in your tongue, you'll call me 'Dragon' in some other tongue?"


Yes, I know.
Calling a fox based doll by a word that means fox in another language is very lazy naming. 


But I don't care, I like the way it sounds.

Volpe is in my Etsy store right now.

Wednesday, 5 October 2011

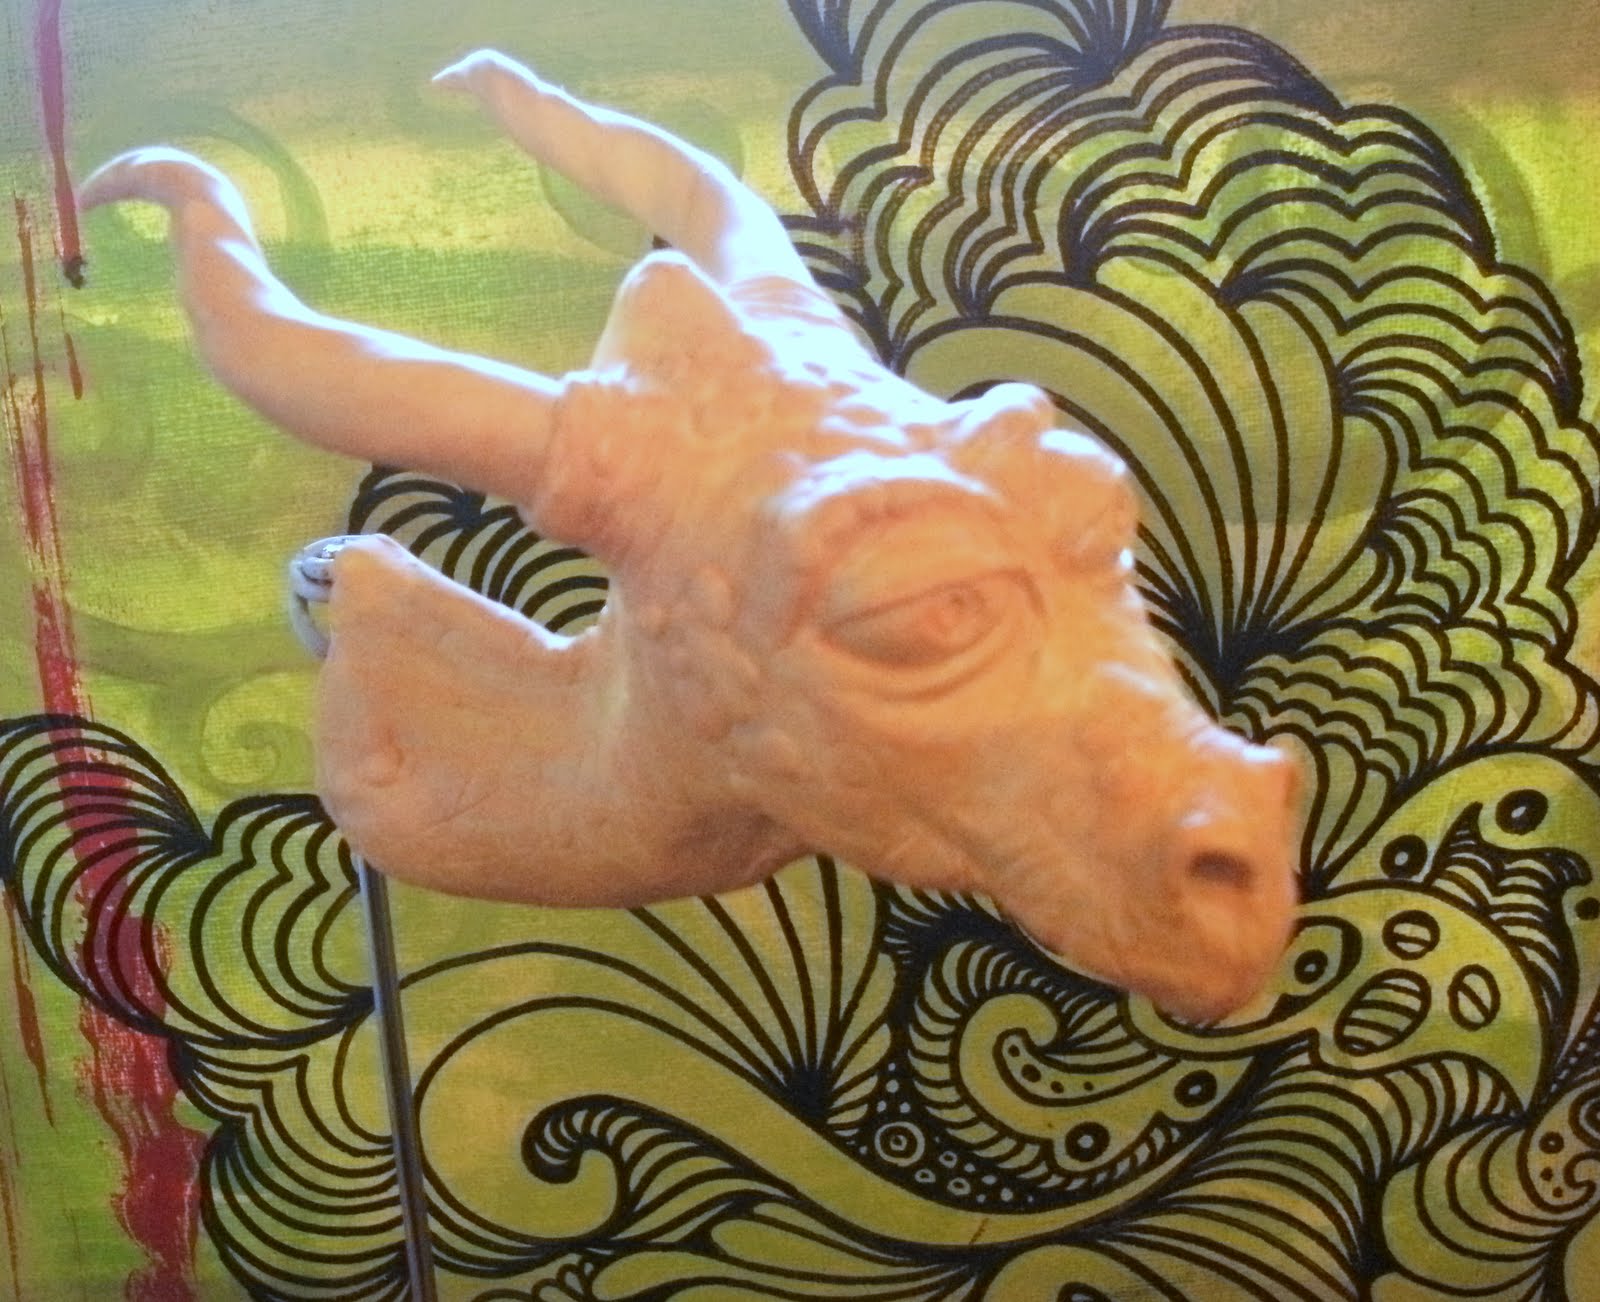
The head of Mulligan the Dragon

Remember this guy?


He's finished!
And he's on Etsy.
After taking suggestion both here and on Facebook, his name is was Mulligan. ("Was" because, well have your head mounted on a wall is kinda not good for your life expectancy)
Here are some glamour shots:


And, for fun, here is the sketch that he's based off:


Thursday, 21 July 2011

Dragon photos

Well, he's not terribly photogenic, but he is adorable...


And he needs a name - Leave suggestions in the comments!

And here's a grainy photo of the progress on the Bishie:


(Ignore those feet - they're really rough) The legs and hands are still 'raw' clay. I'm thinking that maybe his thighs are too muscular - but will wait until I've done his arms before deciding on them.
He'll be roughly 28cm tall - ever so slightly shorter than Barbie.

Friday, 1 July 2011

My Poor Neglected Blog, Elves, Dragons, and a Bishie*

Well, I've been a bit slack with the blogging recently.
Partly due to my computer being a stupid-head and dying, and partly due to dealing with a depressive period. Which sucks - and isn't a very good excuse - but there you go.

I have been busy whilst hiding from the world though:

Two of the Elves are finished - and will be posted on Etsy along with the Floofy pink lady, as soon as I've taken decent photos.


 And the third Elf is waiting to be dressed.


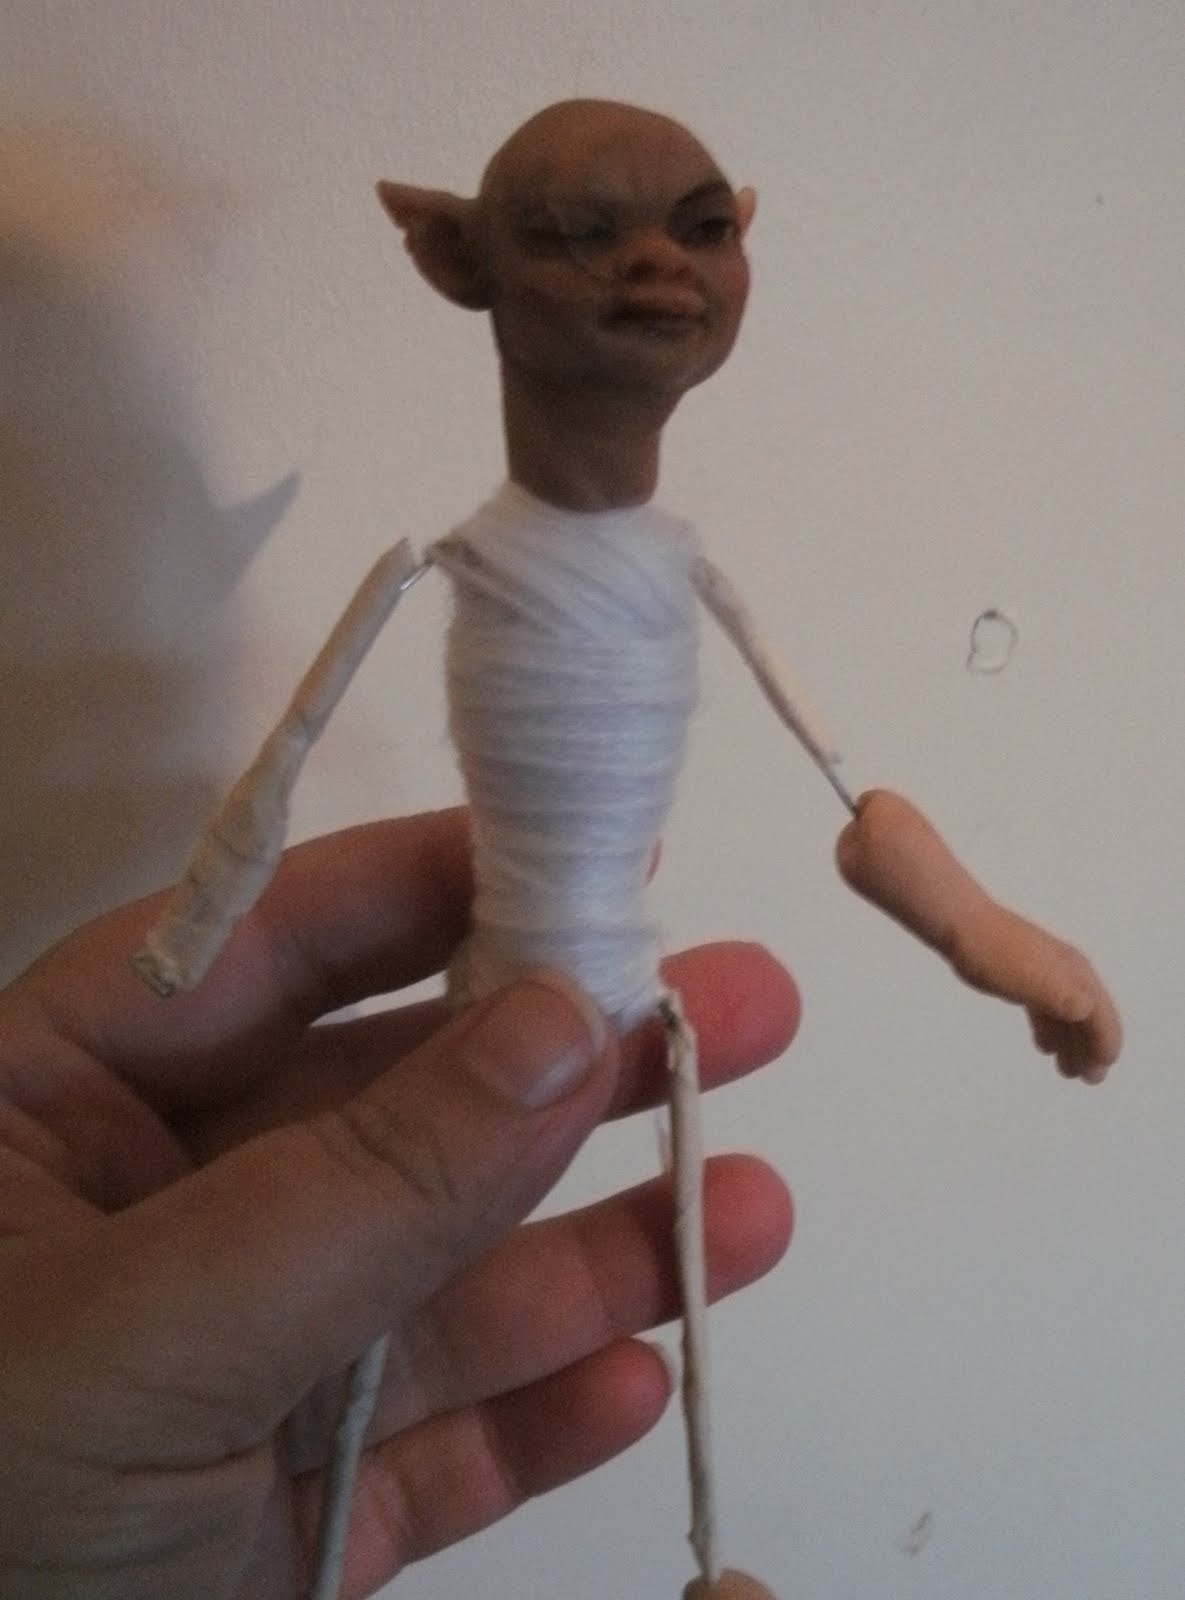
I've sculpted a scarred "pirate" elf who will have a hook-hand, and also needs a costume. And a body too, while I'm at it...


The paperclay "dollhouse" BJDs have been giving me a real hard time with their fiddly little arms/hands - so I'm cheating and making them out of polyclay. (no photos - boo!)

DRAGON!
Who will be getting painted this weekend, and then I have to find a small plaque to hang him off.


I've been working on a commissioned BJD too (secret - no pics)

And dug out a very old half done full figure sculpt and am attempting to salvage it.


I've started altering a "My Scene" Barbie that I brought early last decade, that then got chewed on by a cat, and stolen by the Sprog (who told me could have the broken doll back if I wanted - generous kid). I've wiped off her face paint and chopped off the chewed-up hand - I'm debating trying a re-root, or just giving her a wig, as her hair is really ratty. Also no photos. :)

I have also started another BJD - this time a "mature tiny" - or a 1/6 scale doll.
For a change, it's a he. *bishōnen or "pretty boy".


At the Sprog's request - I've made a "Zuko" head for him, but this won't be his "official" head if I get him to the point of saleabilty. Fanart is fun - but it's a bit iffy to make it for sale due to copyright issues.

So, that's what I've been up to in the - gosh - 66 days since my last blog post...

Tuesday, 26 April 2011

Saturday, 26 March 2011

OOAK Kitty

The paperclay kitty is done.
She has 11 joints (not jointed at wrists or ankles), and stands unassisted. 

I have to decide on a name and "story" for her, then she'll be going on Etsy.


Monday, 21 March 2011

Paperclay Dolls

YEARS ago, when I was in high school, I was quite fond of playing with paperclay. The only polymer clay I was able to find was Fimo (which I found horrible to use), but Whitcoulls always had DAS or Jovi in stock.
I still have a (poorly sculpted) male torso that I made when I was 17. The head and arms (and lower legs) have broken off and been lost since, but I still have the torso! (somewhere!)
I can't remember when or why I stopped using it, but I haven't touched the stuff for years.

Anyway, to get to the point of this needless ramble: I was stuck on the doll I was sculpting for my photo "tutorial" and needed something else to work on. I saw some DAS at the local Toy Store, so bought a pack.
And started to make some dolls.


Paperclay is hellishly messy to work with - which is probably why I stopped using it in favour of polyclay. I am quite messy enough, thankyouverymuch. It's very fibrous, and odd to use after polymer clay, as it's very sticky and slumpy, & needs a slow drying time.
It also dries quickly with the heat of your hands, so after working with it for a while, you end up with scaly cracked "gloves" of  dry clay. I've spent a lot of time over the past month picking dried clay off my hands.

I have four on the go (it was a 1kg pack), two of which are 1/12 teeny-tinys (15cm), and a 1/12 kitty (12cm).
And a larger mermaid, but I'm not showing that one until I'm a bit further along.
I don't think I'll mold any of these, so they'll be One Of A Kinds!


The Girls have the teeniest faces I've ever done - their heads are about 2cm from chin to crown.
This stuff is wonderful to sand (I don't like wet sanding anyway) compared to polyclay. Which is just as well, because it's freakin' hard to get a smooth, even surface.


Kitty before ears and arm joints.


Kitty as of 20 minutes ago. (Obviously, my photography has not improved >.<)
I dug out my watercolours (the tube of Windsor Newton that I used is over 14 years old! Buy artist quality paints!) and re-wet the pieces so that I could do a gradieted basecoat in yellow, and use some purple Luminarte powered  pigment. I have to let it dry, seal the paint,and string her, and then she's done.


I should be able to get my mermaid, and possibly anther small doll out of the remainder, then I think I'll be back onto the polyclay OOAK's.

Saturday, 5 February 2011

"It's a rubber chicken with a pulley in the middle."


Hey look!
I finished him, and can't stop giggling at ridiculous he looks.

Tuesday, 25 January 2011

Creating an OOAK Doll - Part 3

Well, after getting off to a roaring start there, I hit a snag. 
My camera started acting odd  - I took around 60 photos of adding the eyes, and sculpting the torso and shoulders, and it only 'saved' around 20 of them. This threw me a bit, and I've avoided both working on her, and blogging about it. 


Using my trusty scalpel to cut the eyelids.


Normally I have quite steady hands, but at this point I always mysteriously get the shakes.


Whenever I need to get some symmetrical, I like to work upside-down. I find it makes it easier to gauge negative space, and helps me with keeping proportions steady.


She's looking a bit formless in the upper face...


Some small clay rolls to bulk out the under-brow.


When I was working on her, I decided forehead was too far back. looking at it now, I don't mind it so much...


Anyway, to correct this I slapped a pancake of clay in the middle of her forehead.


Which had the effect of making her hideous. (I've seen Nacho Libre too many times).


So, another bit of clay to fill in the bridge of her nose.


Smoothed on one side.


At this point, she looked a bit like my mother...

I used to have some very nice, proper clay shaping tools. Gods only know where they are now.
Currently, I use a sharpened eraser to smooth areas I can't fit my finger into.


Another improvised tool, a sharpened coffee stirrer. (I always grab one when I buy a coffee - they go straight into my bag.)


Gently inserting into the eye...


... and even more gently rolling up - this makes for a nice base for the eyelid.


Winking!


It's a bit rough, but the shapes will be corrected once the eyes are in. 
This was the second-to-last photo on the memory card.


And then I sculpted the torso, hands and feet. And the ears. The bloody ears took me longer than the whole face. I hate bloody sculpting bloody ears.
I took LOTS of photos, I swear. Photos of making those bloody ears too.


 But the last saved photo was this one. It's not even the last photo I took! This is after I brushed her down with Sculpey Clay Softener, and used the brush to really get into those tight corners. Then I patted the whole thing down with tissue, which gives the clay a nice 'tooth' for paint or what-have-you once it's cured.

She's now baked, so the next step is bulking out her body.