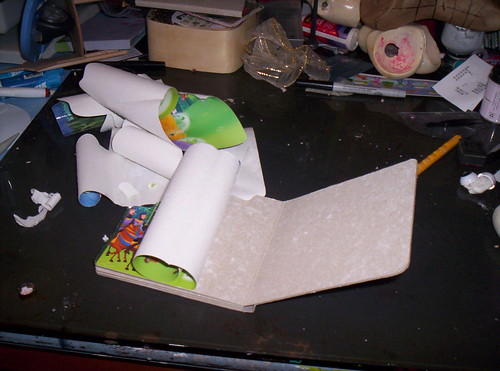
The naked book and a selection of papers...

A note before starting to apply the papers - I am an extremely messy worker, and like to cover the cover of the book last, so that I don't get glue all over it.
Apply copious amounts of gluestick - make sure you cover the entire surface with glue - otherwise you get air pockets and/or the paper may peel off.
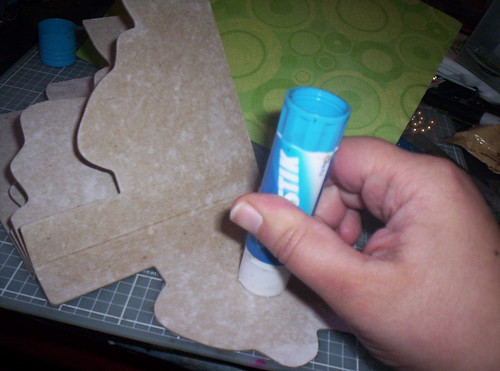
Place the paper over top of your page and burnish it. Start at the centre of the page and (pushing down hard) work your way to the edges. I often have a little bit of glue ooze out - try not to get any on your burnishing tool.
You can use a fancy-schmancy bone folder for this, but as mine was covered in polymer clay at the time, I used a clean popsicle stick.

Flip it over and trim the excess paper from the back with a SHARP blade.
(A sharp knife is a safe knife)
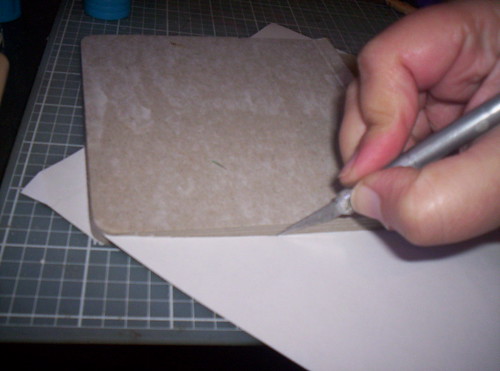
I sometimes hang the book over the edge of the table to get to the fiddly bits near the spine.

The first covered page....

If the paper you want to use is smaller than the page, use two pieces. Glue one down as usual, but don't trim the paper yet.
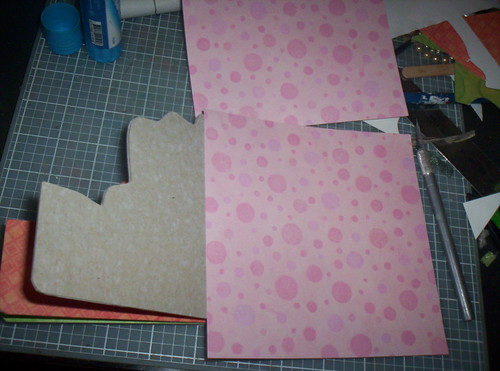
Tear a thin strip off one edge of the second piece. If you don't want any white (the paper's core) showing, make sure that you pull the part of the paper that you want to use towards you (if you do want the white tear to show, pull it away from you).
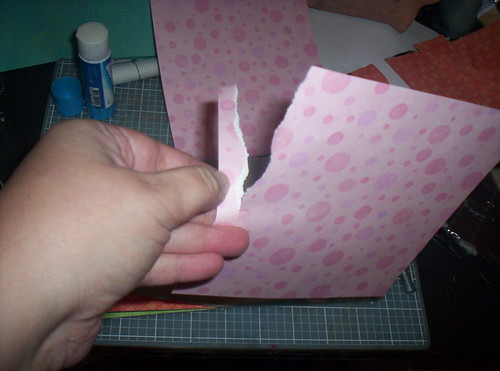
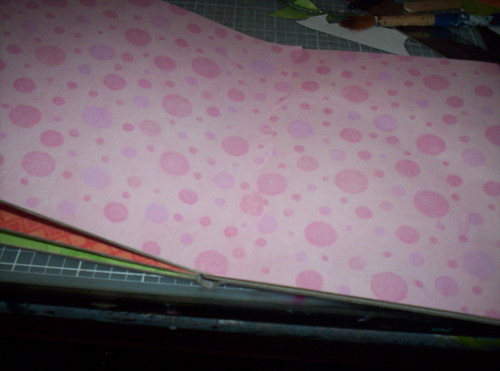
Apply lots of glue and overlap the torn edge.
You can do this with lots of bits of paper if you want your base to be all collagey and stuff...
The re-covered book, ready for scribbling in....
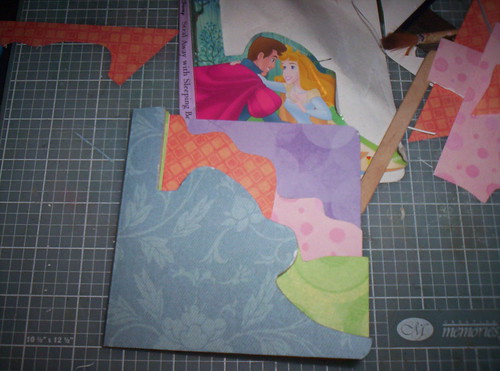
...and Princess Aurora? The story in this boardbook was terrible. I felt no guilt at all in tearing it up...
No comments:
Post a Comment